
"CB" my Iain Oughtred 15' 5" MacGregor Canoe (UPDATE - Bob Peterson now owns this canoe)
I attended a boat building class at the North Carolina Maritime Museum from March 11 until March 26, 2000. The class consisted of six students, one instructor, and several volunteers. Our goal was to pair off and build three boat - a coin toss in each pair determined who was able to purchase the boat at 10% over the cost of the materials. I was the lucky winner in my pair. There are a few prerequisite classes (also offered at the museum) but other than those, you don't need much more than patience and a willingness to learn!
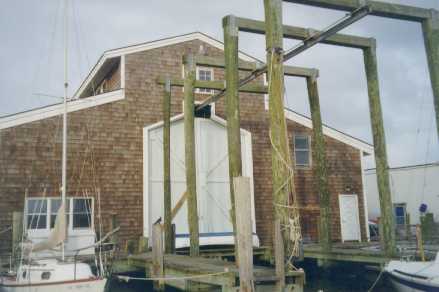
View of the boat shop from the water.
MacGregor Canoe
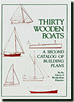
"Thirty Wooden Boats: A Second Catalog of Building Plans" by the Editors of WoodenBoat Magazine describes this design, and also sells the plans.
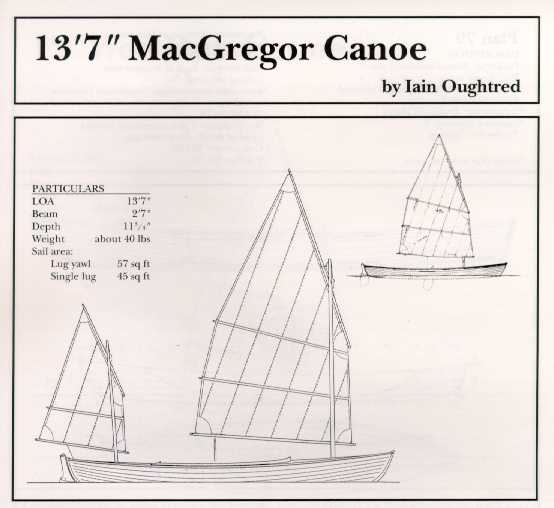
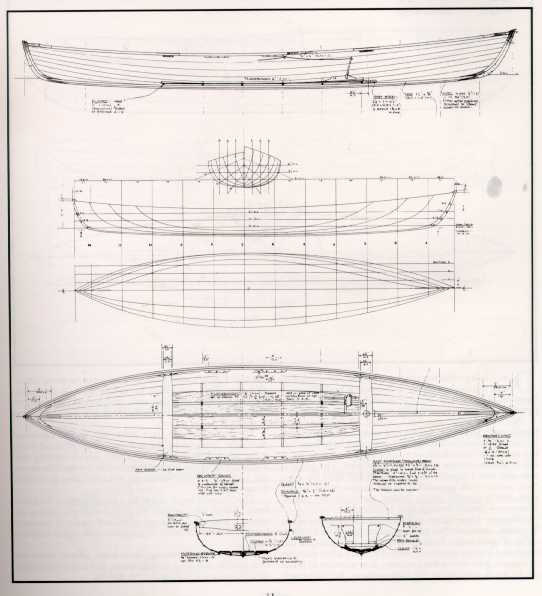
Here is an excerpt from the book. For my canoe, we opted NOT to make the sailing version. Mine is also about 2" shorter as there was something funky going on with the strongback used for the class. We also experimented with fancy custom seat backs.
Building
Materials used: I haven't typed this in yet.
Museum volunteers constructed the strongback / mold prior to class.
Volunteer Andy Fulcher preps the mold by applying plastic tape to the ribbands. The tape keeps the planks from sticking to the mold when the canoe is lifted (in theory).
Step one for us was to laminate some 1/8" thick sassafras sticks together to form the stems for the canoe. We used a mold to establish the shape.

The epoxy cured over night, and then we ran them through the planer a few times.
Temporarily screwed to the strongback so that they will stay in place for the planking process.
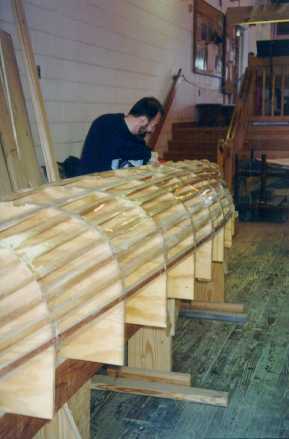
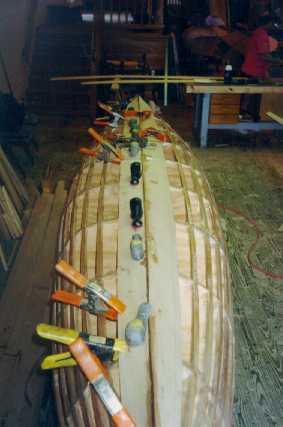
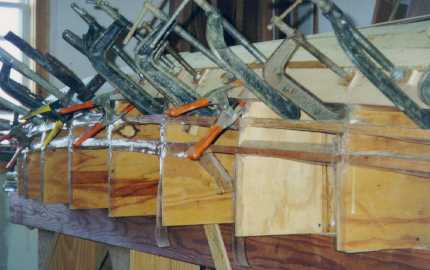
Then the planking process begins. We never have enough clamps, and quite frankly the boat looks like a millipede sometimes.
The first plank is called the garboard. We temporarily clamp it to the ribbands while the epoxy cures.
Stepping through the planking process.


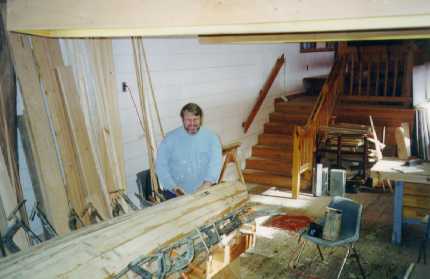
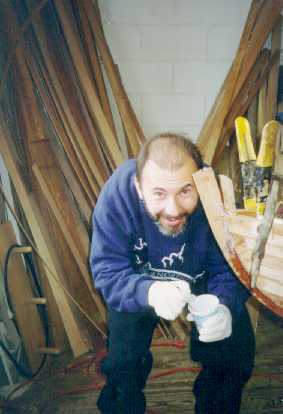
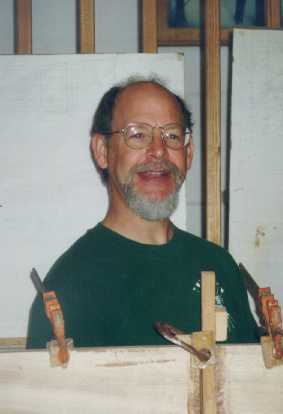
Yours truly takes a break.
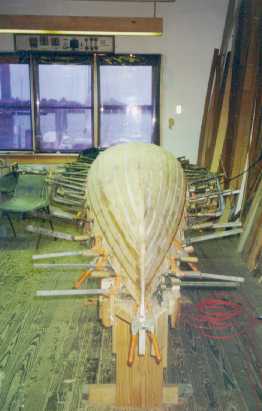
Is this a canoe or a clampipede?

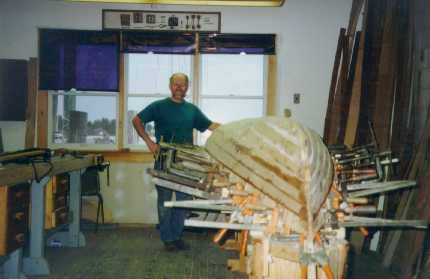
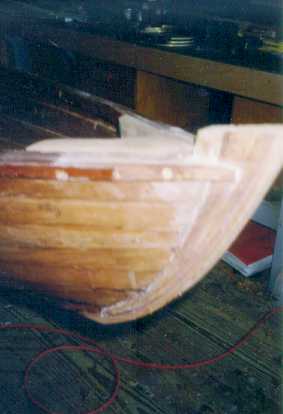
The planking is finally finished - time to lift it off the mold.
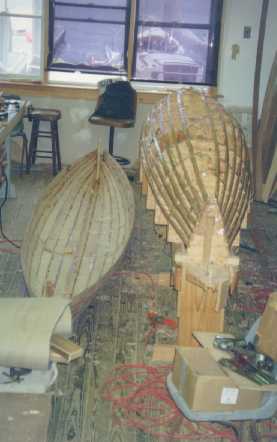
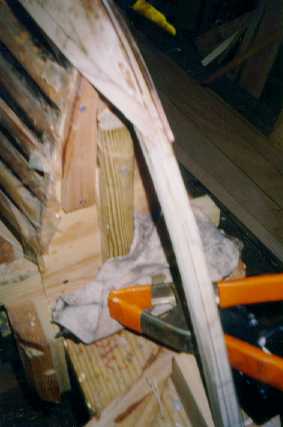
The canoe freed from its strongback cocoon. During the lifting process, an enthusiastic helper (who wishes to remain anonymous because he is the teacher) pulled a little too hard on the stem and broke the boat.

WHOOPS! Note the crack to the right - this is what can happen when some of the planks ooze epoxy and it sticks to the mold. This is an easy repair and we learned a few tricks in the process.
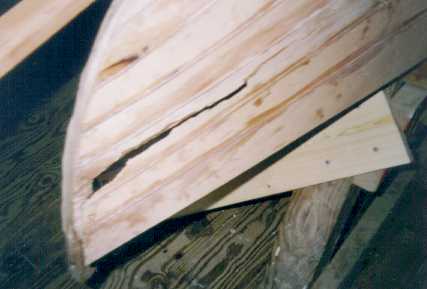
Perhaps I should have named the canoe "Plytanic."
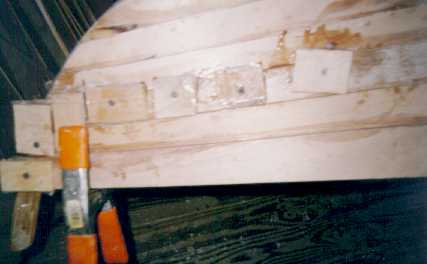
Some epoxy and temporary clamps.
Voila! As good as new.
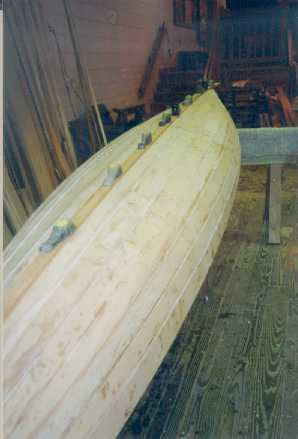
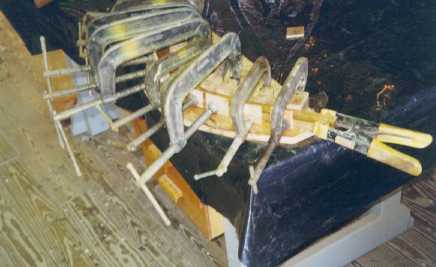
Lead weights (shaped like little whales) hold the keel down while the epoxy cures.
Andy adds some epoxy to the outer stem.

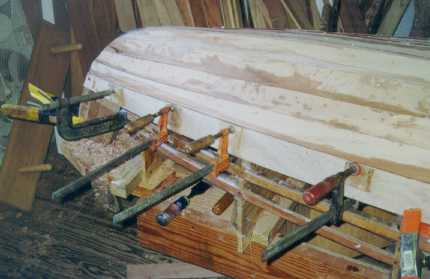
Clamping and gluing the inwale and gunwale.

Floorboards.
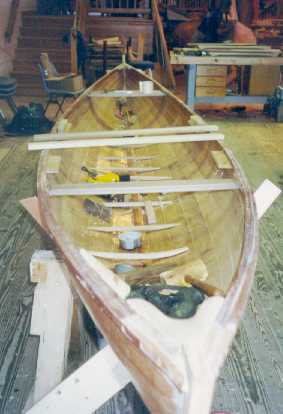
Round one of figuring out how to build the back rests.
Yet to come
I still need to finish sanding the hull, install the rub rails on the bottom, paint, varnish, and finish the reclining backrest design. I will post photos as I DO the work.
People
Roger Allen, our fearless leader and Curator of Boatbuilding Technology at the museum.

Bob Peterson, my co-conspirator.

Tup "Fairplanks" Carras, a museum volunteer.
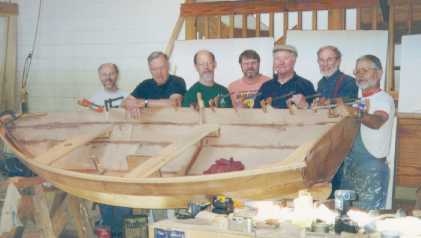
The entire class standing beside the Shellback Dinghy, a second boat built in the class. Glenn, the proud owner, poses on the right. Note his stylistic shop apron.

Volunteering in the shop, the BobNess Monster attacks a remodeling job with a fresh coat of paint.