
Sides
The plans state that the house sides (D) are put in place and then the widows are cut. I screwed my sides in place temporarily, and then did the measuring, cutting and fitting. I took them back off for the epoxy work.
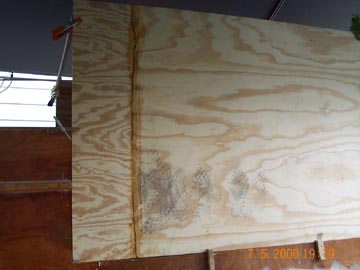
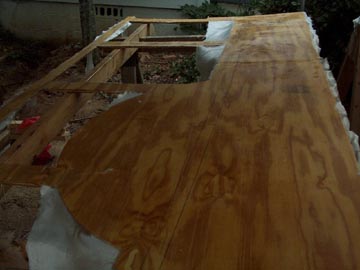
While the plans call for a vertical butt, I chose to scarf a piece on the aft end of the ply instead. I did a lousy job on the scarf, primarily because the base of my plane is nowhere near long enough - a longer one goes on my gift list. The scarf is workable though, as I spent some time filling and fairing with epoxy. Here the newly formed LONG sheet of plywood is held in place with clamps at the top, and small pieces of wood temporarily screwed to the sides of the hull. This view is of the aft end of the starboard side.

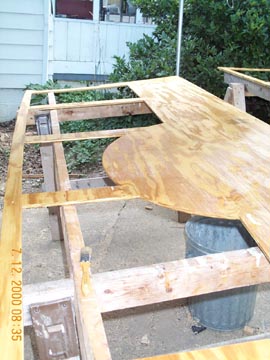
A better shot from the starboard quarter.
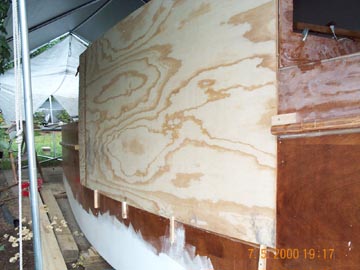
Starboard side looking aft.
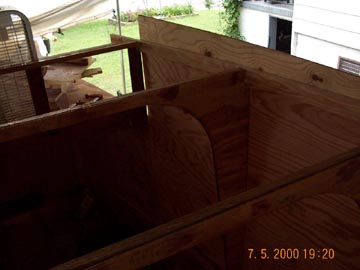
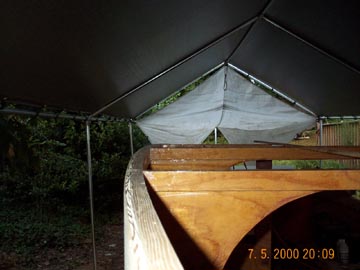
Inside looking at the front section - all you need to do is get your pencil and start tracing the frame locations (G, G2) and the house top fastening frame (E). With the side temporarily in place, I was able to measure and draw the window openings very easily.
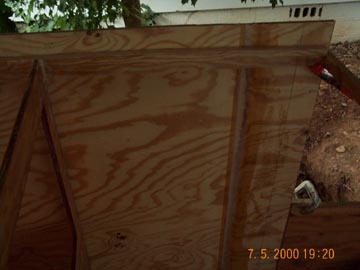
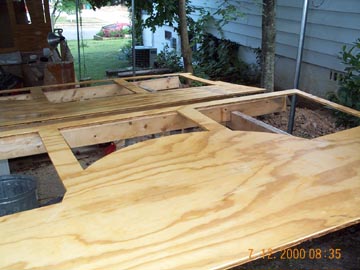
Detail showing the aft end just outside the cabin rear (G2). Note the scarf. The house top fastening frame is supposed to curve down slightly here, and I curved it with a plane, not by bending it.

The stick temporarily fastened on the aft end pulls the ends in parallel with the sides.
I cut the window openings, sawed the top curve, then put the sides back on for a test fit and to plane down the top edge so they match the fastening frames perfectly.
Again I removed the sides, this time to apply epoxy. After an initial soaking coat, I put down the cloth, and started to fill the weave. With daily temperatures in the 90's the epoxy cured very quickly and allowed me to put on at least two coats per day.
After the epoxy reaches a green state, trim the excess cloth with a knife, and smooth out the edges with a Sureform tool. You don't need no stinkin' grinder if you get to it before it cures completely.
Another view. I continued to add a few coats of epoxy, then flipped the sides over and coated (but did not add cloth) to the other side, which will be the inside of the boat. All of that cured for a few days, and then I did a wet sand to take off the rough spots and remove the smooth wax coating. At that point they are ready to install permanently.
Back to Martha Jane
Back to
Boats Home